How To Get Started in Voice Acting (With No Experience)
Becoming a voice actor could be a rewarding career change that allows you to explore your creative side. But how do you get started in voice acting if you have no previous experience in this field?
Follow these steps to get started in voice acting with no prior experience:
- Invest in a high-quality microphone.
- Choose sound recording and editing software.
- Soundproof your recording room.
- Think about what kinds of demo reels you’d like to create.
- Create a handful of simple demo reels.
- Begin advertising your services.
This article will explore each step in detail to ensure you start your voice acting career on the right foot, helping you find clients quickly and build a stellar reputation.
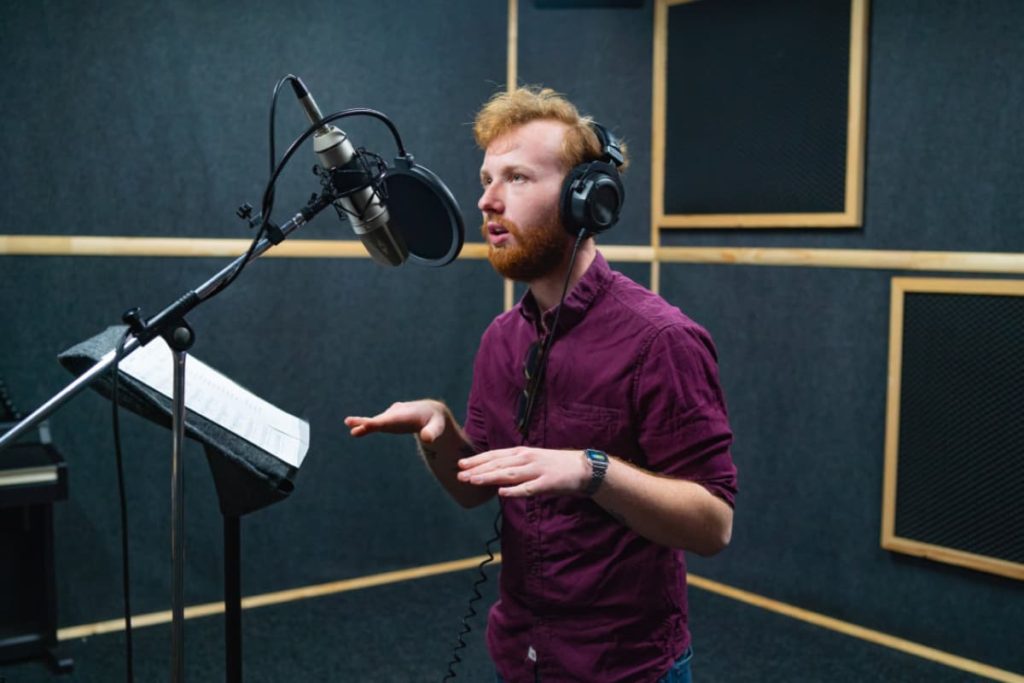
1. Invest in a High-Quality Microphone
The first part of any project is to gather your supplies. That’s why the first thing you’ll want to do to get started in voice acting is to purchase a high-quality microphone.
You might be hesitant to invest in a voice-recording microphone, especially if you’re hoping to get started on a tight budget. But buying a top-tier microphone is key to producing professional-quality audio.
The microphone on your headphones or laptop simply cannot compete with desktop or standing mics. Fortunately, hundreds of recording microphones are available, some of which are exceptionally affordable.
Let’s explore some of the best options that are available on Amazon.com to expedite your journey and help you start recording more quickly.
Best Overall: Audio Technica AT2020 Bundle
You don’t need to spend thousands of dollars on a microphone to start producing professional-quality audio clips. With the Audio Technica AT2020 Mic Bundle by your side, you begin recording flawless tracks immediately.
This bundle comes with a microphone arm (which clamps to tables or desk surfaces), an adjustable windscreen, and Headphones. Naturally, it also comes with a microphone! You will need a simple pre-amp to go along with it (check out the Focusrite Scarlett Solo 3rd Gen).
The cardioid condenser mic included in this bundle picks up noises in front of it while reducing noises behind it, helping you minimize background noise interference while recording. The included windscreen is also a nice touch, as it reduces pops caused by plosive sounds (like pronouncing words that start with the letter P).
Check it out: Audio Technica AT2020 Bundle
Best Budget Pick: TONOR TC-777 Cardioid Condenser Microphone
Those looking to keep early production costs low may want to opt for this TONOR microphone. It has everything you need to start recording, including a tripod stand, a windscreen, and a USB connection cord.
You won’t need to install any software to start using this microphone, and the cardioid pickup ensures that background noises won’t overpower the sound of your voice. And if you’re worried about OS compatibility, you can rest easy—this mic is compatible with Windows, macOS, and Linux systems.
Check it out: TONOR TC-777 Cardoid Condenser Microphone
Easiest To Use: Logitech for Creators Blue Yeti Microphone
Some microphones require complicated hardware, like swinging arms or collapsible stands. But this microphone is wonderfully simple, featuring a short stand, a USB output, and a mute button. It also has three dials, one for volume, one for gain, and one for adjusting pickup patterns.
Although this plug-and-use microphone is a little on the pricier side for beginner-level voice actors, it’s also one of the easiest to set up and begin using. Besides, this microphone comes with audio editing software! So, if you choose this mic, you might be able to skip the next step.
Check it out: Logitech for Creators Blue Yeti Microphone
2. Choose Sound Recording and Editing Software
After selecting a microphone, you’ll want to start browsing sound recording and editing software. You can start recording audio clips with basic programs available on your desktop or laptop, but these applications typically don’t yield stellar results.
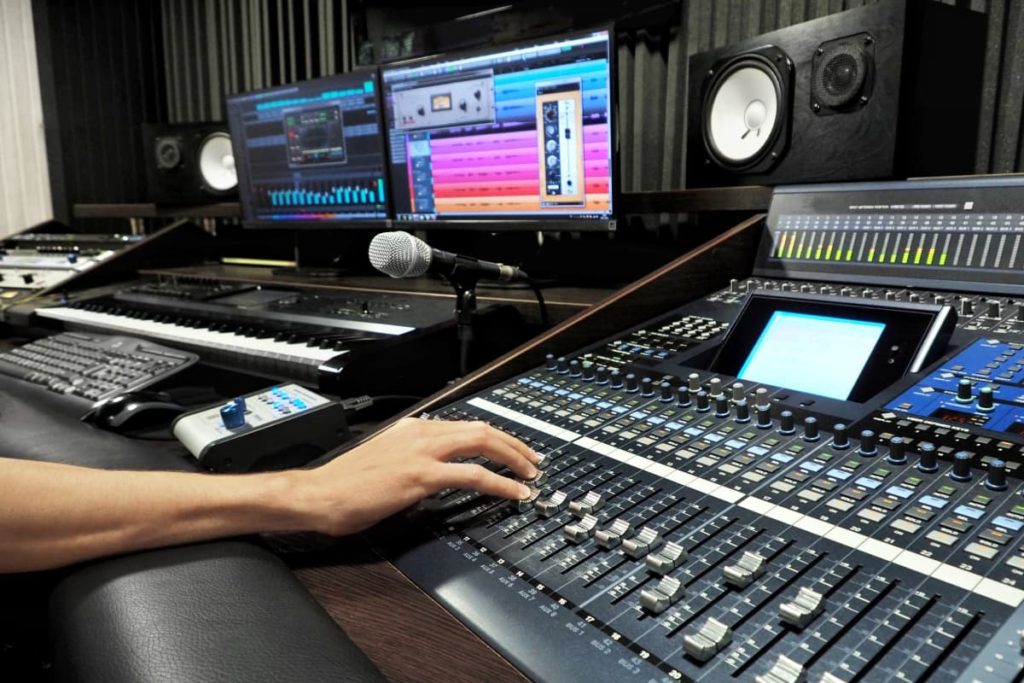
Investing in recording and editing software is the best way to start making your recordings sound crisp, clear, and professional. Although there are several software options available, only a few are well-suited to beginners.
These include:
- Adobe Audition
- Audacity
- GarageBand
Let’s briefly explore these software options to discover which might be right for you.
Best Overall: Adobe Audition
Adobe Audition is one of the most popular and prolific software providers for individuals engaged in creative pursuits, including voice acting.
It is an audio recording and editing software that can help you clean up your audio tracks, mix multiple recordings into a single track, and add sound effects to your recordings. Though you might not need to use all the tools available in Adobe Audition, this is software that voice actors can grow with.
If you choose Adobe Audition, you likely won’t ever need to invest in another audio recording and editing program. However, it’s not free.
Check it out: Adobe Audition
If you’re looking to keep costs low, you might want to choose the next option: Audacity.
Best Free Option: Audacity
Preparing for a new career can be expensive, especially when investing in new tools and supplies. The good news is that you can reduce your starting costs by choosing a free audio recording and editing software, like Audacity!
Though this software’s user interface isn’t as attractive as the one in Adobe Audition, you’ll find all the tools you need to perfect and edit your audio recordings. Still, mastering Audacity can be challenging, especially for those who’ve never used audio editing software.
Fortunately, several video tutorials can help you get the gist of recording and editing tracks in Audacity. This beginner-friendly video guide is an excellent place to start:
Best for Apple Devices: GarageBand
Finding software that works on Apple macOS devices can be challenging, but it’s far from impossible. In fact, you might be surprised to learn that one of the best audio recording and editing software for macOS devices comes pre-installed on most Apple MacBooks!
GarageBand is free-to-use software only available to macOS users, and it’s chock-full of useful tools and features to help voice actors produce professional-quality recordings. For example, you can use this program to trim tracks, layer multiple audio tracks into a single recording, and adjust audio to make it sound crystal-clear.
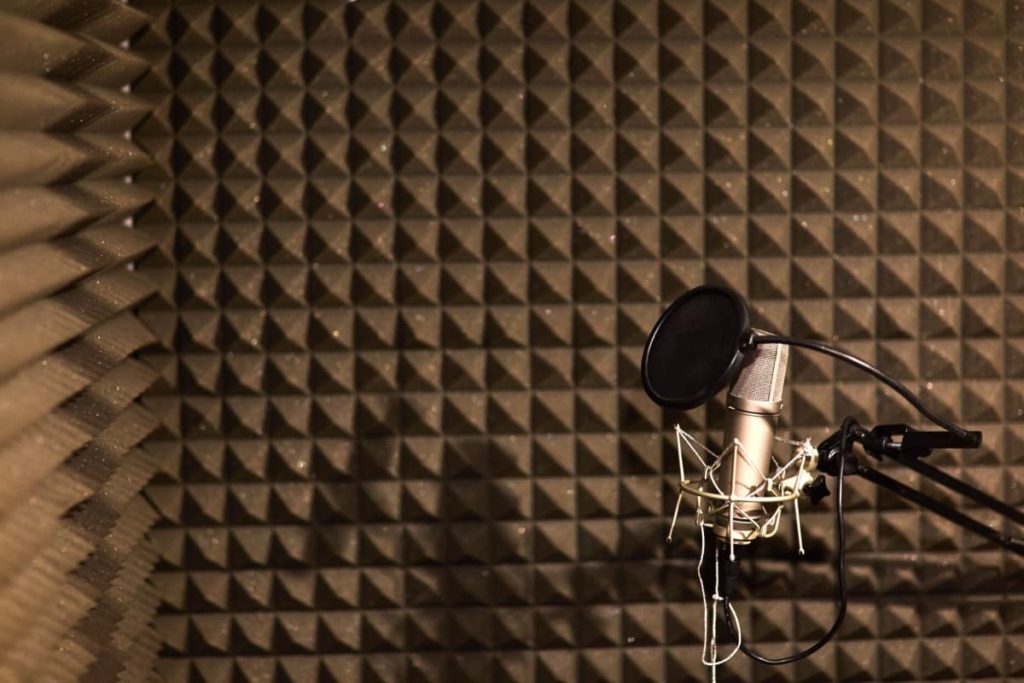
3. Soundproof Your Recording Room
Even the highest-quality microphones and software can produce inferior-quality recordings if your recording room isn’t soundproofed. Beginner-level voice actors typically don’t have access to professional recording studios. So, there’s a good chance that you’ll start your career by recording at home.
There’s nothing wrong with this, but home environments can get noisy, especially if you have roommates, children, or live on a busy street. For that reason, you’ll want to invest in soundproofing equipment to minimize noise from other rooms.
To do this, you can invest in several different soundproofing products, including:
- Sound-blocking panels
- Acoustic blankets
- Sound isolation booths
The right option depends on your budget, preferences, and available space. Let’s examine each soundproofing solution to help you select one suitable for your recording setup.
Use Panels To Block Sound From Other Rooms
If you’ve ever noticed gray or black squares hanging on the wall behind your favorite content creators, you’ve seen sound-blocking panels. Sound-blocking panels are some of the most popular products among at-home recording artists, as they’re effective and easy to install.
Consider investing in TroyStudio acoustic panels.
Hang Acoustic Blankets To Soundproof Your Room
While acoustic art panels can make your space more attractive, they’re not the most affordable soundproofing products. Acoustic blankets are a far more budget-friendly way to dampen sounds outside your studio.
Like sound-blocking panels, these blankets can hang on the walls of your recording room to block exterior sounds. They come in multiple sizes, so you can choose blankets that fit your room’s doors, walls, and windows.
Of course, if you’re recording in a spacious room, you might need dozens of blankets or sound-blocking panels to reduce outside noise. Because these costs can quickly add up, investing in a sound isolation booth for your recording room might be more cost-effective.
Invest in a Sound Isolation Booth
If you don’t want to hang panels or blankets, you could opt to install a sound isolation booth in your recording studio. These booths come in a wide range of sizes, from portable half-domes that you can set up on your desk to spacious mini-rooms that stand more than six feet high.
Larger booths can get expensive, so if you’re trying to stick to a tight budget, you may want to opt for a simple portable sound isolation booth.
4. Think About What Kinds of Demo Reels You’d Like To Create
Once you’ve set up your recording area, it’s time to consider what types of voice acting jobs you’d like to pursue. Voice actors are necessary for various projects, from creating audio clips for games to providing voice-overs for commercials.
Understanding what type of voice acting you’d like to get into can help you focus on attracting clients within that field. Besides, most clients looking for voice actors choose individuals based on their demo reels.
Demo reels are short audio recordings that offer examples of your capabilities, and can differ depending on the voice acting genres.
Examples include:
- Commercial demo reels
- Animation demo reels
- Corporate demo reels
- Audiobook demo reels
- Game demo reels
Naturally, the content and style of these reels differ significantly. So, take a moment to ask yourself, “What kinds of voice acting projects suit my voice best?” Once you’ve got your answer, it’s time to start recording.
5. Create a Handful of Simple Demo Reels
This penultimate step is one of the most important, as demo reels are essentially an audio portfolio that clients can browse. Creating demo reels can be a nerve-wracking experience, especially if you’re new to voice acting.
By following a handful of guidelines, you can ensure that your demo reels are flawless, helping to attract clients in need of your services.
Guidelines for Creating Voice-Acting Demo Reels
Before you start recording demo reels, you’ll want to review a few guidelines to ensure you’re producing the best possible recordings. Some of the most useful tips to consider include:
- Practicing your material before recording
- Making several recordings of the same piece
- Keeping demo reels relatively short
- Editing your recordings before sharing
Let’s quickly discuss these tips to ensure your first demo reels are of top-notch quality:
Practice Your Material Before Recording
Practice might not make perfect, but it can make it better! So, you’ll want to spend several minutes practicing each reel before recording.
Practicing your material before hitting the record button can help you speak more fluidly and confidently when you start recording. Feeling a little nervous when you begin recording is normal, so practicing is a great way to lessen those nerves.
Make Several Recordings of the Same Piece
A common beginner’s mistake is recording only one version of each demo reel piece. While this can expedite the recording process, it also reduces your ability to experiment with different tones, cadences, and speaking styles.
When you have several versions of the same piece at your disposal, you can compare them against one another to find which are most appealing and which might be unsuitable for clients.
You can also link the best few versions of each reading into a single demo reel to show your range, but they shouldn’t be several minutes long.
Keep Demo Reels Relatively Short
When producing demo reels, less is more. Most clients searching for voice actors aren’t going to spend hours listening to long-winded audio clips, which is why it’s crucial to keep your recordings short.
But how short should they be? Generally, it’s best to stick to one minute or less.
According to Voices (one of the leading websites for voice acting talent), “…clients make a decision as to whether they will hire you or not within the first 5-10 seconds of hearing your voice.”
Edit Your Recordings Before Sharing
Before saving or uploading your recordings, take a few extra minutes to edit away any unwanted background noises or silent sections. Naturally, this process differs depending on your chosen audio editing software.
If you’re unsure how to perfect your demo reel recordings, explore related tutorials specific to your chosen software. For example, those using Audacity can check out this helpful video guide to learn how to perfect the audio quality of their demo reel recordings:
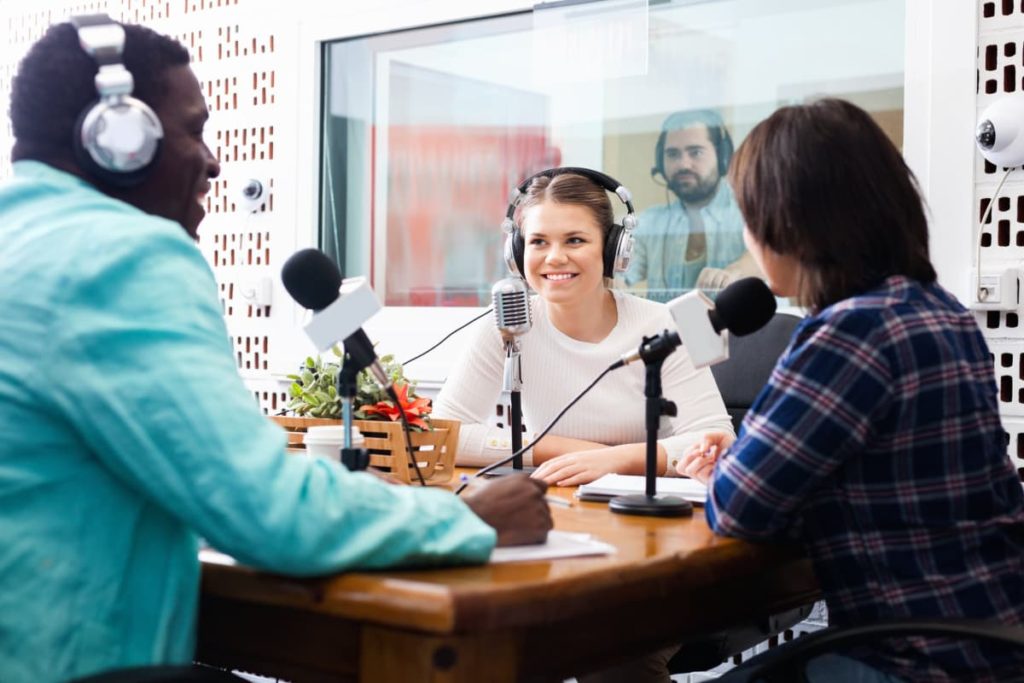
6. Begin Advertising Your Services
When you’re happy with the quality and number of your demo reels, it’s time to start offering your services to clients. Unfortunately, finding paying clients in need of voice actors can be challenging, even if you have a professional website.

Luckily, there are several top-rated platforms that you can use to advertise your services and secure clients. Some useful ones for voice actors include:
- Fiverr
- Voices
- Voice123
Of course, if you’d rather take things slowly, you can select one and begin building a presence on that platform. This could be the better option in the long run, as it allows you to focus on increasing visibility on a single site instead of juggling multiple platforms. It’s important to note that these sites elicit a WIDE RANGE OF OPINIONS. Do your due diligence on each avenue and make sure it’s the right path for you.
But how do these websites differ? And which might be the best option for you? Let’s review each option to help you decide:
How To Find Voice Acting Jobs on Fiverr
Fiverr is one of the most popular freelancer platforms, and it could be a fantastic starting point for your voice-acting career.
To start, you’ll need to visit the Fiverr website (or download the app) and create a free account.
When creating a profile, you’ll want to upload a professional-looking photo of yourself. Though appearance isn’t a vital part of voice acting, an unflattering profile picture could cause clients to continue scrolling.
After creating your profile, you can create a ‘gig’ posting to advertise your services. Unfortunately, you can’t create these service posts via the app, though this might change in the future.
When creating a gig post, you can set your prices, upload videos that contain your demo reels , and describe the types of audio content you’re open to producing. From this point, it’s as simple as waiting for clients to contact you with job opportunities!
How To Find Voice Acting Jobs on Voices
If you’re looking for a slightly more niche platform to get you started, you may want to become a member of the Voices platform.
This website helps clients looking for voice actors and individuals looking for voice acting work connect. It offers a free account option, but you can also opt for paid memberships to increase your visibility.
Either way, Voices allows you to upload unlimited voice demos, and you don’t need to make a video file (like you would on Fiverr)!
How To Find Voice Acting Jobs on Voice123
If you’re looking for a more straightforward way to break into the voice acting industry, you might want to start with Voice123.
Voice actors looking for work via this platform only need to answer four simple questions about their language, abilities, and file delivery preferences to start receiving matching job offers from interested clients.
With Voice123, you may receive job offers from clients in your email, and it is one of the most convenient options available.
Conclusion
Getting started in voice acting isn’t challenging, even if you don’t have any prior experience. Firstly, you’ll need to purchase a recording microphone and choose a sound recording and editing software.
Once you’ve mastered the basics of your microphone and software, you can begin soundproofing your recording room or studio. After that, it’s simply a matter of choosing demo reels to pursue, creating a few reels, and advertising your services.
There are several platforms that freelance voice actors use to find clients. But following these steps and tips can help you build a reputation and attract clients quickly!